Did you know that the average bowling ball can weigh up to 16 pounds? That’s a lot of weight to be throwing down a lane!
But did you also know that baking your bowling ball can help improve its performance on the lanes? It’s true – by baking your ball, you can remove oil buildup and rejuvenate its surface, resulting in better hook potential and overall consistency.
Before we dive into the nitty-gritty details of how to bake a bowling ball, let’s first explore why it’s beneficial. Over time, as you bowl with your ball, oil from the lane will accumulate on its surface. This buildup not only makes the ball look dirty but can also affect its reaction on the lane.
Baking your ball helps to remove this oil buildup and restore its original surface texture. Additionally, if you have an older or heavily used ball, baking it can help bring back some of its lost hook potential and make it feel like new again.
So if you’re looking for ways to improve your game and extend the life of your beloved bowling ball, keep reading to learn how to properly bake it at home.
Understanding the Benefits of Baking a Bowling Ball
You’re probably wondering why putting your sports equipment in the oven is worth it – well, let me tell you about all the advantages of this heat treatment process!
Baking a bowling ball has several benefits. Firstly, it helps to remove oil and dirt from the surface of the ball that can accumulate over time. This build-up can affect the ball’s performance, but baking it ensures that it remains clean and consistent.
Secondly, baking a bowling ball helps to restore its original hook potential. This is because intense heat causes the urethane or resin material to soften and then harden again once cooled down. As a result, any imperfections in the ball’s surface are corrected and its overall performance is enhanced.
However, there are also some disadvantages of baking a bowling ball that should be taken into consideration. While it may improve its hook potential, excessive heating can cause damage to the ball’s core structure or alter its weight distribution. It’s important to follow proper guidelines for temperature and duration when baking your bowling ball.
In summary, understanding both the advantages and disadvantages of baking your bowling ball will help you achieve optimal results with this heat treatment process. By following proper guidelines and taking precautions against damaging your equipment, you’ll be able to enjoy consistent performance on the lanes for years to come.
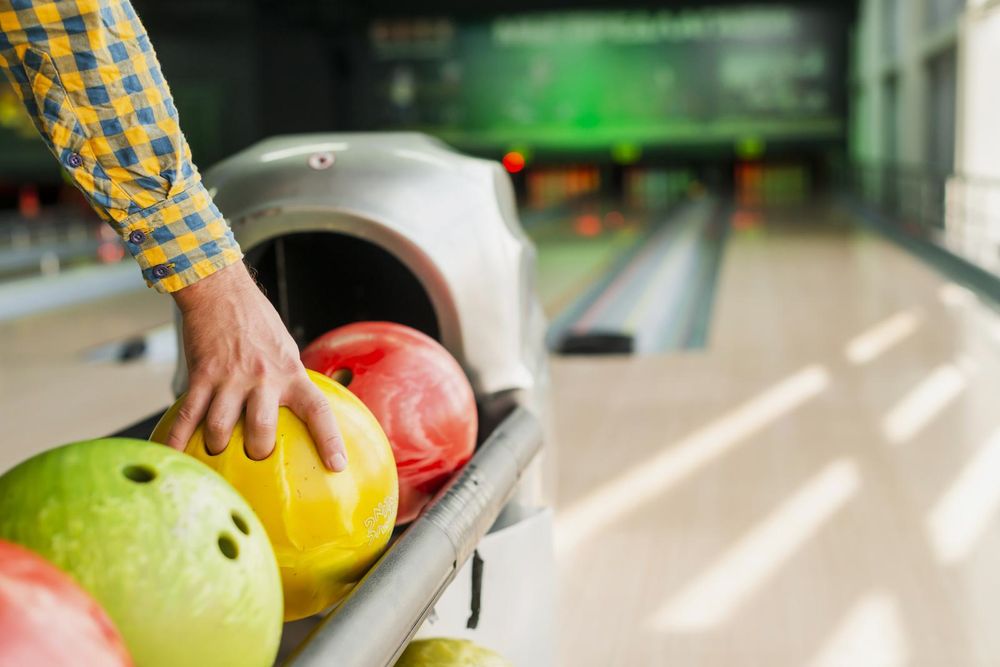
Selecting the Right Ball for Baking
As you peruse the selection of round objects in front of you, your mind races with anticipation for the perfect candidate to undergo the transformation process. However, not all bowling balls are created equal when it comes to baking. To select the right ball, consider these factors:
- Ball weight: Heavier balls tend to bake more evenly and hold their shape better.
- Material composition: Reactive resin balls are recommended as they can absorb oil and have a more porous surface.
Another important factor is selecting a ball that has already been drilled to fit your hand comfortably. This will ensure that the ball maintains its correct balance and weight after baking.
It’s also crucial to avoid choosing a ball that has any cracks or damage as this can compromise its structural integrity during the baking process.
Lastly, take into consideration the color and design of the ball as some may discolor or fade during baking.
By carefully selecting the right bowling ball for baking, you’ll be on your way to achieving maximum performance on the lanes. So, go ahead and choose wisely before embarking on this transformative journey!
Preparing the Ball for Baking
Before popping it in the oven, it’s crucial to give your selected sphere a thorough cleaning and inspection to ensure its structural integrity.
Start by wiping down the ball with a damp cloth to remove any dirt or debris that may have accumulated on the surface. Next, use a bowling ball cleaner specifically designed for this purpose to thoroughly clean all areas of the ball.
After cleaning, inspect the ball for any cracks or chips that could affect its performance during baking. If you find any damage, don’t proceed with baking as it could result in further damage or even injury.
It’s also important to ensure that the finger holes are dry before proceeding with baking. To prepare for baking, gather all necessary materials such as aluminum foil and an oven-safe pan or rack.
Wrap the ball tightly in aluminum foil, making sure there are no gaps or openings where air can escape. Place it on the pan or rack and preheat your oven according to manufacturer instructions before placing it inside.
With these steps completed, you’re now ready to move onto actually baking your bowling ball!
Baking the Ball: Step-by-Step Guide
Get ready to turn your chosen sphere into a perfectly cooked masterpiece with these step-by-step instructions.
Once you’ve prepared the bowling ball by thoroughly cleaning and sanding it, it’s time to bake it.
Preheat your oven to 350 degrees Fahrenheit and line a baking sheet with aluminum foil.
Place the ball on the baking sheet and put it in the oven.
Bake the bowling ball for approximately one hour. The exact time may vary depending on the size of your ball, so keep an eye on it while it’s in the oven.
While baking, you may notice small air bubbles forming on the surface of your ball – don’t worry! This is normal and will not affect its performance.
Once done, take out the baking sheet from the oven and let cool completely before using again.
If you encounter any issues such as uneven cooking or cracking during this process, there are alternative baking methods you can try such as using a slow cooker or boiling water method.
Troubleshooting common issues can help ensure that your bowling ball comes out perfectly every time!
Caring for Your Baked Bowling Ball
Now that you’ve got your perfectly cooked masterpiece, it’s time to take care of it. Proper maintenance is necessary to keep your baked bowling ball in good condition and ensure its longevity. Here are some tips to help you care for your ball:
-
Clean your ball after every use using a microfiber towel or a bowling ball cleaner designed specifically for baking balls. Avoid using harsh chemicals or abrasive materials that can damage the surface of the ball.
-
Store your baked bowling ball in a cool, dry place away from direct sunlight and extreme temperatures. Exposure to heat can cause the core of the ball to expand, resulting in cracks or other damages.
-
Rotate your baked bowling balls regularly if you own multiple ones. By doing so, you allow each one to rest and recover while also ensuring they maintain their shape.
By following these simple cleaning techniques and longevity tips, you can protect your investment and maximize its potential on the lanes. Remember that proper maintenance is crucial for keeping your baked bowling balls performing at their best level.
So go ahead and show off those perfect strikes with confidence!
Conclusion
Congratulations, you’ve successfully baked your bowling ball! By following the step-by-step guide and taking proper care of your ball, you can expect to see improved performance on the lanes.
The benefits of baking a bowling ball include increased hook potential, better oil absorption, and enhanced durability.
Now that you have a freshly baked ball, it’s important to continue caring for it. Be sure to clean it regularly with a ball cleaner and towel after each use. Avoid leaving it in extreme temperatures or direct sunlight for extended periods of time.
And finally, consider getting your ball professionally serviced every few months to ensure optimal performance. As the saying goes, practice makes perfect. So keep working on your game and incorporating new techniques like baking your bowling ball into your routine.
Who knows? You may just become the next champion at your local alley! Remember: "Success is not final, failure is not fatal: it is the courage to continue that counts." (Winston Churchill)


